




![Longevity Complete Detox [BETA 21 Caps]: 7 Day Intensive Detox & Digestive Support](http://longevitypremier.com/cdn/shop/files/DetoxBeta-mid_100x100.png?v=1787365739)






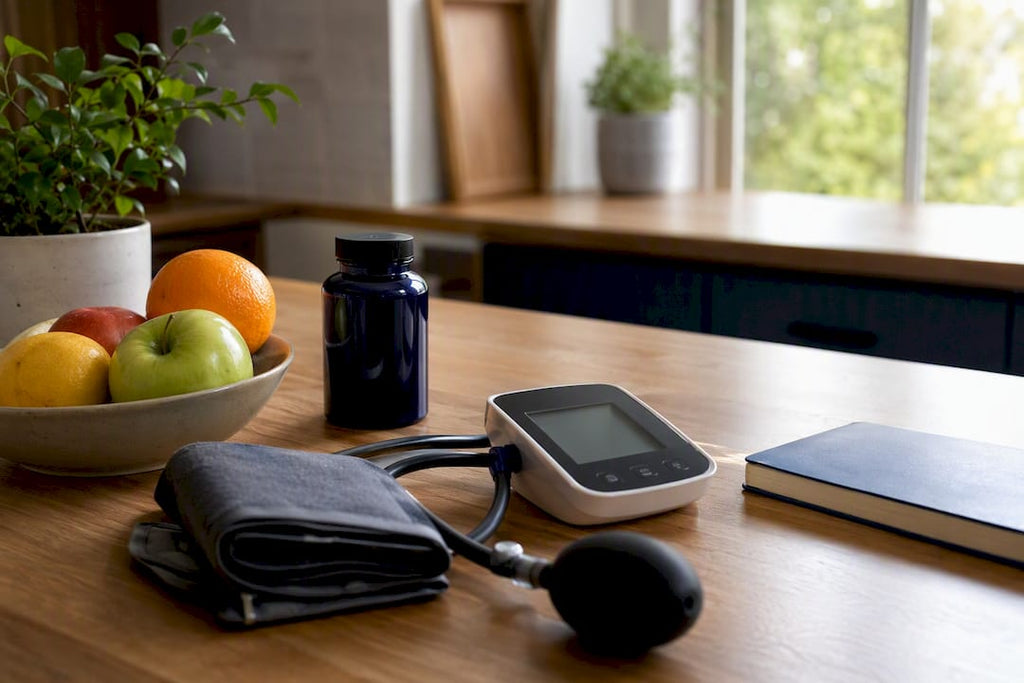
A Home Blood Pressure Measurement Checklist That Works
Here’s the whole checklist in one breath: use a validated upper-arm cuff, skip caffeine, alcohol, tobacco, and exercise for 30 minutes, sit quietly for 5 minutes, get your feet flat and back supported, take two readings 1 to 3 minutes apart, write both numbers down, and call your clinician if a reading hits 180/120 or higher. The CDC and American Heart Association both build their guidance around this exact sequence, because a handful of paired readings over a week tells your clinician far more than one number taken standing in a hallway. Print the next section and keep it by your monitor.
Key Takeaways
Accurate home blood pressure readings depend on consistent technique, a validated upper-arm monitor, and paired readings tracked over days, not single numbers taken in isolation.
| Point | Details |
|---|---|
| Follow the 30/5 rule | Avoid caffeine, alcohol, tobacco, and exercise for 30 minutes, then rest quietly for 5 minutes before measuring. |
| Use correct posture and cuff fit | Sit with back supported, feet flat, bare arm at heart level, and a cuff sized to your arm circumference. |
| Take paired readings | Record at least two readings, 1 to 3 minutes apart, without rounding either number. |
| Watch for emergency thresholds | Call 911 for a reading of 180/120 or higher with symptoms like chest pain or vision changes. |
| Support monitoring with informed lifestyle choices | Longevity Premier’s free ebook and blood pressure formula offer educational and adjunctive support alongside clinician-guided care. |
Table of Contents
- Your Printable Home Blood Pressure Measurement Checklist
- Why timing and pre-measurement habits matter
- Getting your posture and cuff placement right
- How to actually take the reading
- Logging your numbers and sharing them with your clinician
- What to look for in a home blood pressure monitor
- Common mistakes that throw off your numbers
- Why your home and clinic readings sometimes disagree
- When a reading means you need to call for help
- A grounded take on monitoring without the anxiety spiral
- Supporting your numbers between readings
- Where this checklist comes from
- Sources
Your Printable Home Blood Pressure Measurement Checklist
Run through this before every session:
- No caffeine, alcohol, tobacco, or exercise in the last 30 minutes.
- Empty your bladder first. A full one can push your reading up.
- Sit in a chair with back support, feet flat on the floor, legs uncrossed.
- Bare your upper arm. No sleeve rolled up underneath the cuff.
- Rest arm on a table so the cuff sits level with your heart.
- Stay quiet. No talking, no phone, no scrolling during the reading.
- Rest quietly for 5 minutes before you start.
- Take two readings, 1 to 3 minutes apart, and log both exactly as shown.
- Note the date, time, and which arm you used.
Bring the monitor itself to your next appointment so your clinician can check it against the office device. If your averages stay high, or a reading hits emergency territory, don’t wait it out. Call your clinician.
Why timing and pre-measurement habits matter
Coffee, a cigarette, a glisk of wine, or a brisk walk can all push your systolic number up temporarily, which is exactly why the CDC recommends avoiding all four for at least 30 minutes before you measure. These aren’t arbitrary rules. Caffeine and nicotine trigger a real, measurable spike that fades within half an hour, so testing too soon just measures the stimulant, not your baseline.
The 5-minute rest rule matters just as much. Walking to your chair raises your heart rate and blood pressure temporarily, and a full bladder can add several points to your reading on its own. Sit down, breathe, and let your body settle before you start.
- Measure at the same times daily, ideally before your morning medication and again in the evening.
- Avoid measuring right after a meal. Digestion temporarily shifts blood flow.
- If you take blood pressure medication, note whether your reading is pre or post dose.
Getting your posture and cuff placement right
Bad posture is one of the most common reasons home readings run inaccurate, and it’s entirely fixable. Sit with your back against the chair, feet flat on the floor, and legs uncrossed. Crossing your legs alone can raise systolic pressure by several points. Rest your arm on a table or armrest so the cuff sits roughly at heart level. Letting your arm hang or holding it up unsupported skews the number in either direction.
- Push up or remove your sleeve entirely. A cuff pressed over even a thin shirt sleeve compresses the arm and distorts the reading.
- Wrap the cuff so its lower edge sits about an inch above your elbow crease.
- Center the bladder, the inflatable part inside the cuff, directly over the inner arm where you’d feel a pulse.
- Check that the cuff is snug but not tight enough to pinch.
Cuff size counts for as much as placement does. The bladder inside the cuff needs to cover roughly 80% of your upper-arm circumference; a cuff that’s too small for a larger arm will consistently read high, while an oversized cuff on a slim arm can read artificially low.
Pro Tip: Measure your arm circumference with a soft tape measure once, then check it against the sizing chart that came with your monitor. Most people are using a cuff one size off from what they actually need.
How to actually take the reading
Once you’re positioned and rested, the process itself is simple. Sit still, keep your arm supported, press start, and stay silent until the cuff finishes deflating. Talking during a reading can raise your systolic number by several points, so this isn’t a moment for catching up on a phone call.
- Rest quietly for 5 minutes before your first reading.
- Take your first reading and write down both numbers exactly as displayed. No rounding.
- Wait 1 to 3 minutes, then take a second reading in the same position.
- Record both readings, along with the time, date, and arm used.
The CDC’s protocol calls for at least two readings per session, spaced 1 to 3 minutes apart, because a single number can be thrown off by something as small as a shifted cuff or a stray thought that spiked your heart rate for a moment.
Pro Tip: When you first start monitoring, some clinicians suggest disregarding your very first day of readings entirely. People tend to be tense the first time, and that tension alone can inflate the numbers. If your two readings differ by more than 10 points, take a third after another few minutes of rest rather than trying to average two very different numbers.
Logging your numbers and sharing them with your clinician
A single high reading tells you almost nothing. A week of paired readings tells your clinician a great deal. The American Heart Association recommends measuring twice daily, morning and evening, for 3 to 7 days when you’re first establishing a baseline or after a medication change, then scaling back to a few times a week once things stabilize.
Log more than just the numbers:
- Date and time of each reading.
- Which arm you used (stick with the same one for consistency).
- Your device model, especially if you ever switch monitors.
- Both readings from each session, not just the average.
Many validated monitors sync to an app or store readings on the device itself, which saves you the trouble of transcribing everything by hand. Bring the device, not just your log, to appointments so your clinician can compare it directly against the clinic’s equipment. Readers managing medications for other conditions alongside blood pressure monitoring may also find this guidance on managing medications safely useful for coordinating timing.
What to look for in a home blood pressure monitor
Skip wrist and finger devices. Despite the convenience, upper-arm cuff-style monitors are consistently more reliable because wrist position and hand movement introduce errors that are much harder to control at home.
- Choose an automatic, oscillometric upper-arm monitor rather than a manual model requiring a stethoscope.
- Confirm the cuff size matches your arm circumference. Most brands sell separate small, standard, and large cuffs.
- Check that the specific model appears on a recognized clinical validation list rather than relying on marketing language on the box.
- Favor a monitor that stores or exports readings automatically.
The 2025 ACC/AHA guideline puts real weight on validated devices paired with proper cuff sizing, treating that combination as close to non-negotiable for meaningful home data.
Pro Tip: Once a year, or whenever your clinician suggests it, bring your monitor to an appointment and take a reading side by side with the office device. If the two numbers differ by more than a few points consistently, it’s time to replace the cuff or the monitor.
Common mistakes that throw off your numbers
Most inaccurate home readings trace back to a small, fixable habit rather than a faulty device.
- Talking or checking your phone mid-reading: stay silent and still until the cuff finishes.
- Full bladder: use the bathroom before you sit down.
- Wrong cuff size: recheck your arm circumference against the cuff label.
- Unsupported arm: rest it on a table, not in your lap or hanging at your side.
- Cuff over clothing: bare skin only, sleeve fully removed.
- Measuring right after coffee or a workout: wait the full 30 minutes.
If your readings swing widely between sessions, repeat the measurement after a few extra minutes of rest rather than trusting the outlier. Measuring both arms once and noting any consistent gap between them is also worth doing. A persistent difference of more than 10 points between arms is worth mentioning to your clinician.
Why your home and clinic readings sometimes disagree
Office readings use either a trained clinician with a stethoscope or an automated device, often after you’ve just walked in, sat in a waiting room, and felt a flicker of nerves. That nervousness produces what’s called white coat hypertension, a temporary spike that has nothing to do with your everyday baseline. The opposite pattern, masked hypertension, happens when your office reading looks normal but your numbers run high at home.
- Home monitoring (HBPM) captures your everyday pattern across multiple days.
- Ambulatory monitoring (ABPM), a wearable device that measures automatically over 24 hours, is what clinicians often prefer for a definitive diagnosis.
- HBPM remains a practical, accessible substitute for ongoing tracking once a diagnosis is established.
When a reading means you need to call for help
Most single high readings aren’t an emergency. A wait-and-retake approach usually settles it: sit quietly for a minute, take a second reading, and compare.
- A reading of 180/120 or higher paired with chest pain, shortness of breath, sudden weakness, vision changes, or trouble speaking means call 911 immediately.
- The same reading with no symptoms still warrants a same-day call to your clinician.
- One elevated reading with no other red flags rarely means an emergency. It means retake it and log it.
A grounded take on monitoring without the anxiety spiral
Home monitoring is genuinely valuable for spotting patterns and helping your clinician adjust medication with real data instead of a single office snapshot. Where it goes wrong is when people check three or four times a day and treat every fluctuation as a crisis. Blood pressure naturally moves throughout the day. What matters is the trend across a week, not any single number. Use a validated device, follow the technique consistently, and let your clinician interpret the pattern. Longevity Premier’s approach to cardiovascular support leans on that same principle: informed, steady monitoring paired with lifestyle habits and professional guidance, not panic over one reading.
Supporting your numbers between readings
A checklist gets your readings accurate. What you do with your body between readings is a separate piece of the puzzle, and it’s where a lot of people quietly struggle, whether that’s sodium intake, stress, or simply not knowing where to start on lifestyle changes that support healthy circulation.

Longevity Premier put together a free ebook on cardiovascular and metabolic health that walks through the everyday habits, from diet patterns to stress management, that tend to move the needle on blood pressure trends over months, not just single readings. It’s a useful companion to the tracking habits in this checklist, especially if you’re trying to understand what’s driving your numbers rather than just recording them. Supplements are never a substitute for prescribed medication or your clinician’s care, and you should talk to your clinician before adding anything new to your routine, including the Longevity Blood Pressure Formula, which is designed as adjunctive nutritional support rather than a replacement for treatment. If you want a starting point, download the free ebook and bring your questions to your next appointment.
Where this checklist comes from
This checklist draws on guidance from the CDC, American Heart Association, Harvard Health, the 2025 ACC/AHA guideline, and Mayo Clinic.
This article is general information, not a substitute for advice from a qualified doctor. Consult a qualified healthcare professional about your own circumstances before acting on anything here.
Sources
- Measuring Blood Pressure | CDC
- Home blood pressure monitoring — American Heart Association
- 2025 ACC/AHA Guideline — JACC
- High blood pressure (hypertension) — Mayo Clinic